

Composerizing a non-composerized Drupal site to a Composerized Drupal site
Why do we need to use Composer?
- “Composer is a dependency manager tool for PHP.”
This means that we can easily manage php libraries and their dependencies using Composer. - In terms of Drupal, we can download and manage Drupal core, contributed profiles, modules, themes and libraries using Composer. In fact, the entire project can also be managed using Composer.
- Using Composer is the modern way to work in PHP as modern frameworks utilize Composer to manage their dependencies, and it is nice that we can do the same in Drupal.
- Composer also gives us the ability to autoload PHP classes thus making code easier to read and write.
How do we shift from Non-Composer managed website to Composer managed website?
-
Take a backup of the entire site
- It is very important to take a backup of entire Drupal site codebase.
- This is so that if any error occurs during site Composerization, we can easily recover stuff from the backup.
- Or better still, rename your project directory to something else.
-
Note down contributed modules and themes used in the project
- Make a list of contributed modules and themes being used in the project.
- Note down their names and version number. Noting version number is important as we would like to download the same version of the code that we are using in the non-Composerized site.
- For custom themes and modules, these will not be managed using Composer. So let these remain.
-
Download a new project using Composer template for Drupal
- First, make sure you have Composer installed in your machine!
Run composer in your terminal/command prompt and you should see a screen like this:
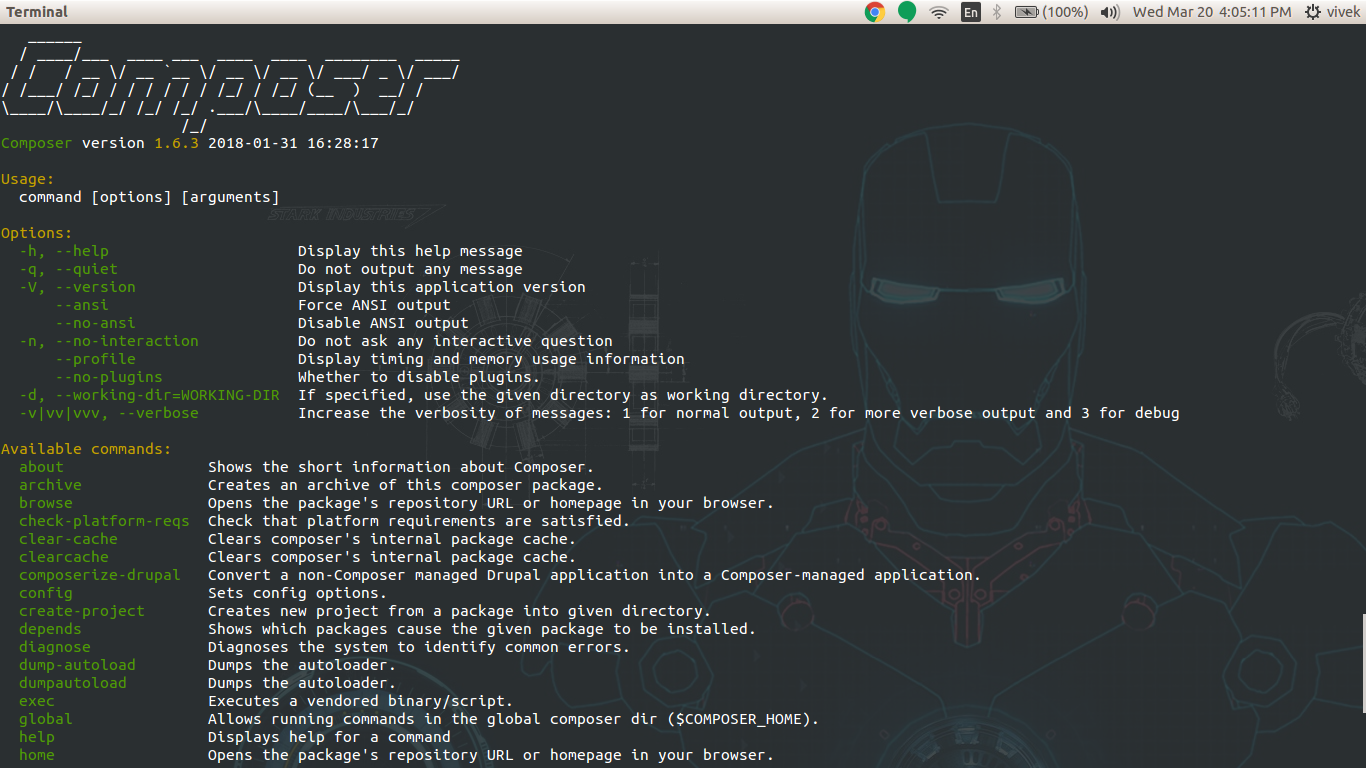
If you don’t and see some other message, that means you do not have Composer installed in your machine. You can do so by visiting Composer’s official website and following the steps there. - Run the following command in your terminal:
composer create-project drupal-composer/drupal-project:8.x-dev new-drupal-project --stability dev --no-interaction - Replace 'new-drupal-project' in the above command with the name of your previous project directory.
- This will start downloading the entire Drupal project template.
- Have patience! It will take some time!!!
- If you face some error during the process, please check the error messages. Normally it would be related to PHP version. If so then update your PHP version to the one specified in the errors or higher.
- Now when the project template is downloaded, you have the core, vendor, sites directories, the main directories among others.
- You may have noticed a change in the directory structure. The sites, themes, core, modules etc. directories are missing and instead, you see some weird directories like ‘drush’, ‘scripts’, ‘vendor’ and ‘web’.
Also you see some other files!
But where did the modules, code, themes etc. modules, that resided in your old Drupal docroot go to? - Do not worry! Navigate to the web directory and you shall find what you are looking for. There you’ll see all the old directories and files that you are used to seeing.
- IMP! As docroot is now inside ‘web’, you may need to change your ‘Virtual Host’ configuration in Apache/nginx to use ‘web’ as the new docroot. Then restart your server.
- First, make sure you have Composer installed in your machine!
-
Download contributed profiles, modules and themes
- Now that you are done with getting the new Drupal Composer template, it's time to get the contributed profiles, modules and themes.
- Go back to the place where you had noted the names of the contributed profiles, modules and themes and their versions.
- Go to the Drupal.org page for the profile/module/theme.
- In the Downloads section of the page where the latest release of the profile/module/theme is mentioned, click on the version number.
- You’ll be taken to the release notes page with Download link button for the zip/tar version of the module.
- There you will find the Install with Composer section where the command is given which when run will download the profile/module/theme to your project.
- The command is of the format
composer require drupal/abcd:^2.3 - You can use this command to download the latest version of the profile/module/theme.
- Else if you would like to restrict the version to the version you are currently using, use the following command:
composer require drupal/abcd:2.3
Here the ‘carat`(^) sign is not there, and so the version we specify is downloaded. - To run the command, go to the terminal, to the root directory of your directory, before your ‘web’ directory and paste command then and press enter.
- If you do from some other directory, then Composer will itself ask you whether to use the composer.json file, the Composer configuration file in your root directory. Press ‘Y’ and hit ‘Enter’.
- Using this method, one by one, download the contributed profiles, modules and themes into your project.
- IMP! Note that in case you have specified a particular version of the profile/module/theme for Composer to download, then you shall need to edit your composer.json file if you want to update.
Go through the Composer official documentation on how to update a composer library.
-
Custom profiles, modules and themes
- Now, for custom profile/module/theme, you should create the following directories:
- Custom module: web/modules/custom
- Custom theme: web/themes/custom
- Custom profile: web/profiles/custom
- Copy the custom profile, module, theme directories from the old project directory and place it in the respective directory in the new project directory.
- That is it!!!
- Now, for custom profile/module/theme, you should create the following directories:
-
The sites, patches, directory, .htaccess, robots.txt
- sites directory:
- Copy the sites directory from your old project and place it in the same path in the new project.
- You may delete the already created sites directory created in the new project and replace it with your own or you can merge them.
- .htaccess, robots.txt files:
- For the .htaccess and robots.txt file, compare the changes of your previous files with the current files provided by the templates and merge the differences.
- Patches directory:
- Copy the patches directory from your old project to the ‘web’ directory of the new project.
- Make changes in the composer.json file following the explanation given here.
- Any pending patches will automatically be run when you run 'composer install'.
- Don’t forget to run `composer install` after shifting the patches folder to the new project directory as now all fresh copies of contrib directories have been downloaded using composer and do not have the patches applied unless it is the latest version which might contain the patch already.
- sites directory:
-
Maintain the changes in version control
- If you use git or other version control system, commit your changes.
- Before committing, please note that the .gitignore file provided in this project template is different from the usual one provided with Drupal.
- If something was there in your old .gitignore file but not there in the new .gitignore file, add them here. But do not remove anything from the new .gitignore file.
- In .gitignore we now have:
/vendor/
/web/core/
/web/modules/contrib/
/web/themes/contrib/
/web/profiles/contrib/ - composer.json and composer.lock files in the project root contain all the required information for the contributed modules, themes, profiles, core and vendor folder.
- So we do not commit these directories to git any more.
- Instead, whoever pulls the git branch containing this project structure change, has to run ‘composer install’ in the project root.
- Automatically all the required core, profiles, themes, modules and vendor folder will be downloaded in their instance.
- If previously, you used to commit these directories to git, now you can remove them from git version control using the command:
git rm -r --cached folder_name - This will show the directory as being deleted from version control but will be there in your local.
- One by one, run the above command for all contributed directories, core and vendor directory.
- So now the repository becomes cleaner, lighter as it is free of the above directories.
- To mention once again, once these changes are pulled to another machine, a person has to run ‘composer install’ to download the directories.
- In future, any contrib profile/theme/module that is to be downloaded/updated has to be downloaded/updated using Composer.
- Only the changes in composer.json and composer.lock files will now show as the contrib directories have now been ignored in git.
- Once the changes have been committed and someone else pulls it in their machine, they have to run ‘composer install’ command so that they get the changes in their machine.
Conclusion
Follow the above steps to migrate your site from a non-Composer based installation to Composer based installation. After doing everything, make sure your site is running properly. If any error occurs, you need to check if you have missed any step. Also, check if you have by chance updated any of the contrib projects that is causing the error. Check the issue queue. You can always remove the project and reinstall the specific version using the method mentioned above. To remove a project, say ‘abcd’, type: composer remove drupal/abcd.
Do full testing of the site before doing so to ensure that everything is working as expected.
If still errors creep up, you can always restore your old project from the backup of the codebase that you had taken initially!


